Back around Memorial Day weekend in 2010, I decided to break out of my shell a little bit. One of the people who I work with got into building model rockets as a hobby, and went more than a little gangbusters for it. There are a multitude of launches throughout the year, but the primary launch for the club he belongs to (and really in the Pacific NW in general) happens over Memorial Day weekend in Eastern Washington in a tiny little place named Mansfield (it's somewhat near Chelan). Regardless, as this got closer in 2010 he tried to introduce some interest in some co-workers to get them to show up and watch. Seeing as how I had no plans, I decided to go. And it was really quite fun! I knew I'd want to go again the following year, but I didn't want to just be an observer, I wanted to participate. So, I shopped around and found a couple small rockets that I liked looking at and decided to pick them up, put them together, and then launch them into the skies! Tally ho!
The first rocket I built is named the Baby Bertha. Here's a picture of it and its unbuilt buddy sitting in my dad's garage!
And thus, the game was afoot, and now it's time for some pic spam of the work in progress, starting with the engine mount.
This is the launch tube that you slide onto the rail.
This is the completed engine mount.
This is the nose cone, with the dings and dips covered with some Bondo spot filler. Once it's dry, it gets sanded off to be smooth.
With the launch tube secured properly, it was time for some sweet fin action. Mmm, fins.
See? Bondo all gone, leaving only a smooth nose cone. Yay!
All the fins are on, resting gently in the vice to keep everyting aligned properly.
Here's the nose cone ready for filler primer while hanging out in my newly-made paint booth (post on that later on).
Oh look, filler primer.
With several layers of filler primer applied, it's time to do some wet-sanding! All you have to do is get some really high-grit sandpaper and apply a light amount of water to whatever you're wet sanding, and then lightly sand it. It will make the object incredibly smooth, and the mess is cleaned quickly and easily with a paper towel!
Look at the nice shiny nose cone!
With the nose cone done for the moment, it was time to put some filler primer on the body.
Oh look, the spraypaint did what it was supposed to do and attached properly!
And with plenty of filler primer layered onto the body, it was time to wet-sand that part too. Look, super shiny!
With wet-sanding finished on both parts of the rocket, it was time to move on to the next phase of the painting process. I used some basic paint I had from various Nerf projects, nice and simple Krylon Fusion Gloss Black.
And here's the whole rocket painted black and assembled! Look at that shine!
With the black base coat finished and dried, it was time to move on to the next phase of painting: the pattern! The original paint scheme for the Baby Bertha is all-black with decals applied on top. Since I was trying to impress people, I decided to throw that plan out the window and go crazy instead. With flourescent orange spraypaint!
More and more spray paint.
By the time I got to this point in the spray painting process I decided I hated the flourescent spray paint. I had to basically empty an entire can of the stuff in order for it to actually cover up the black base coat, plus it took freaking forever to dry, had a horrible application process (blows out in a big cloud), got on everything (due to the big cloud), and probably killed off some brain cells even through my use of the respirator.
You can't even see the blue tape points anymore.
Oh look, it's drying now, stinking up the inside of my dad's house (oops).
On the plus side, once the tape comes off and you use a UV flashlight in a dark room, it looks pretty damn sweet! Oh, and I didn't go with any particular pattern, I just went as random as possible.
Here it is, everything dried, taken apart once again in preparation for the clearcoating process. Final step in painting is protection, kids.
Look at how shiny it is! It's shiny, you know you love it.
With the body assembled and gone through the entirety of the painting process, it was time to move on to some of the internal pieces. The friend of mine who got me into this hobby recommended I use a product called a "baffle" inside the rocket. Basically, what it does is prevent sparks or excessive heat from the engine from being spit up into the body and potentially damaging it or, even worse, ruining the parachute.
Oh look, nose cone is super shiny, and attached to the parachute. I like landing safely. Preferably not far from the launch site, because let's be honest, I'm lazy.
Here's some shots of the baffle being put together, and because no commentary is really necessary, I shall provide none. Unless I change my mind.
The cord coming out of the baffle is the shock cord, and it is what connects the main body to the nose cone. It's also about 5 feet long and made of kevlar, which isn't at all stretchy, which is why there needs to be so much of it.
Shock cord attached to the nose cone. It's all one piece now, kind of.
The Baby Bertha is somewhat short vertically, and with the addition of the baffle taking up internal space it was a tad too crowded for the parachute, so I had to put the excess shock cord length coiled around the internal diameter of the body tube so that there was room for the parachute.
After a fair bit of fiddling, I finally got everything to fit together snugly and securely. Look, it's a rocket! A shiny, shiny rocket!
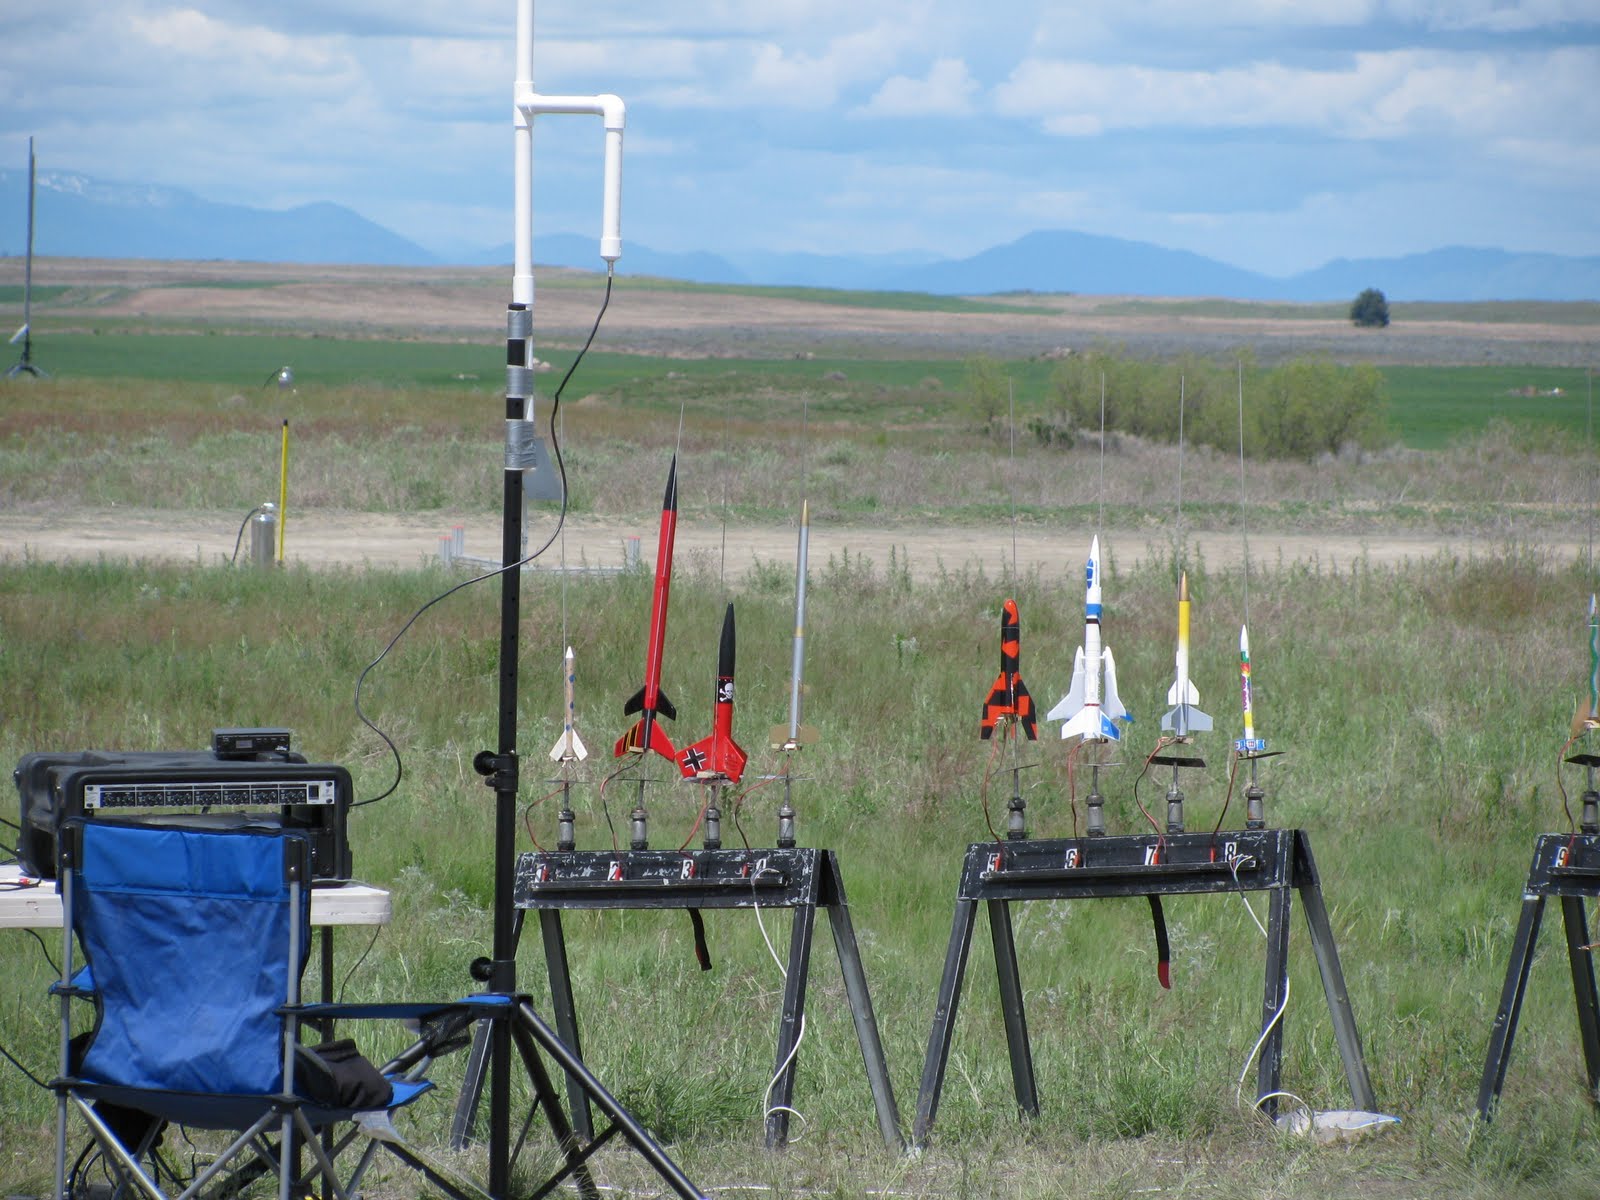
Now, what would this post be like without having a video of the launch itself? It would be a hollow shell, that's what. But just before that, here are a few shots of the rocket while I was at the launch. In case it's not painfully obvious, mine is the fourth one in from the right.
Here's a video I took of the launch itself. It's notoriously difficult to get rockets in frame for something like this, so mine disappears somewhat quickly and returns later. Enjoy!
Oh look, a safe landing. Sweet!
Thanks to all that clearcoating, there wasn't a scratch on her!
And that concludes this post about the first rocket I ever made. Up next, the Big Bertha!
This post has nothing to do with anything I've made or modified, but I feel like sharing it anyway.
Last year (2010) over Thanksgiving weekend my mother flew out to visit some relatives on the East Coast. One of my (many) weird quirks is that I enjoy taking people to and from the airport.
So what does this have to do with anything? Well, I listen to a lot of podcasts. One of my favorites is the Drunk Tank, the podcast of Rooster Teeth (a machinima company whose many products I enjoy). On one particular episode one of the podcast members mentioned that he had been in Seattle and really wanted a burger and thus tweeted the inquiry of where to go, and was quickly pointed towards a place called Lunchbox Laboratory (lunchboxlaboratory.com). He then said it was the largest, most delicious burger he'd ever eaten.
Since I hate driving myself around, I wasn't willing to go up to Seattle to find this place for the hell of it. However, thanks to my mom's flight back from the East Coast, I was going to be in the area anyway. Happy times!
Anyway, this place let you choose either a "stock" type of burger (cheeseburger variations, veggie burger variations, etc) or you could build your own from a massive variety of ingredients. Lacking hudspa I went with a stock burger (I don't recall which one), and this is what it looked like.
As it should now be obvious, there's a lot of stuff in there. And it was amazingly delicious. Seriously. Here's another pic that should better emphasize the height of this bad boy with a decent cross-sectional view thanks to my already having eaten some of it.
There was a lot of burger there, but I ate it all without incident. The only real problem I had was starting into it without causing some innards to spit out the othe end. You know, the usual difficulty with anything thick like this. In any event, it was great. Once my braces get off, I plan on trying this burger the Ram offers called the Behemoth. Supposed to be crazy huge. We'll see how that goes.
So, I have a cat. Because I live in an apartment, I decided to get a pet, and went with a cat instead of a dog because cats can be litter box trained. Dogs need to be walked, and all that fancy jazz. Anyway, after having her for a couple months, Tess started barfing regularly. After some research I learned that all cats belong to one of three categories. 1 - they do the hairball thing. 2 - they barf. 3 - they do neither, and you're super lucky. Well, my cat is a barf machine. There wasn't a week that went by without my returning home from work to find a large floor present of the unwelcome kind on my carpet. So, I'd clean it up and get on with things. I even got a steam carpet cleaner from my parents for a holiday present a few years back, so the cleanup was even easier. I also (through trial and error) found a kind of cat food (Purina Sensitive Stomach) that made it so she only barfed once every 2-3 weeks. Then I read somewhere (wish I could remember where) that a common cause of feline vomiting is from bending all the way down to the ground to get at their food/water bowls, and that if those bowls are raised up an inch or two, their digestive systems function amazingly better.
Since I'm in a big DIY period of my life (and also because the bowl stands I saw in stores were butt-ugly), I decided I could make a stand for Tess' bowls, and see if it made a difference in her vomit regularity. Even if it didn't, it would mean that she couldn't shove her bowls around on my carpet and spill water and/or food quite so easily, so it was a win-win scenario for me. And thus, I was off to begin working! But first, a picture of the recipient of this project.
My procedure for this was pretty easy, as all I had to do was take some measurements of the bowl dimensions, and decide how high I wanted them off the ground. With that done, I turned to my dad, who has tons of scrap wood lying around the house (why? no idea). What I ultimately used was a big piece of particleboard covered in formica.
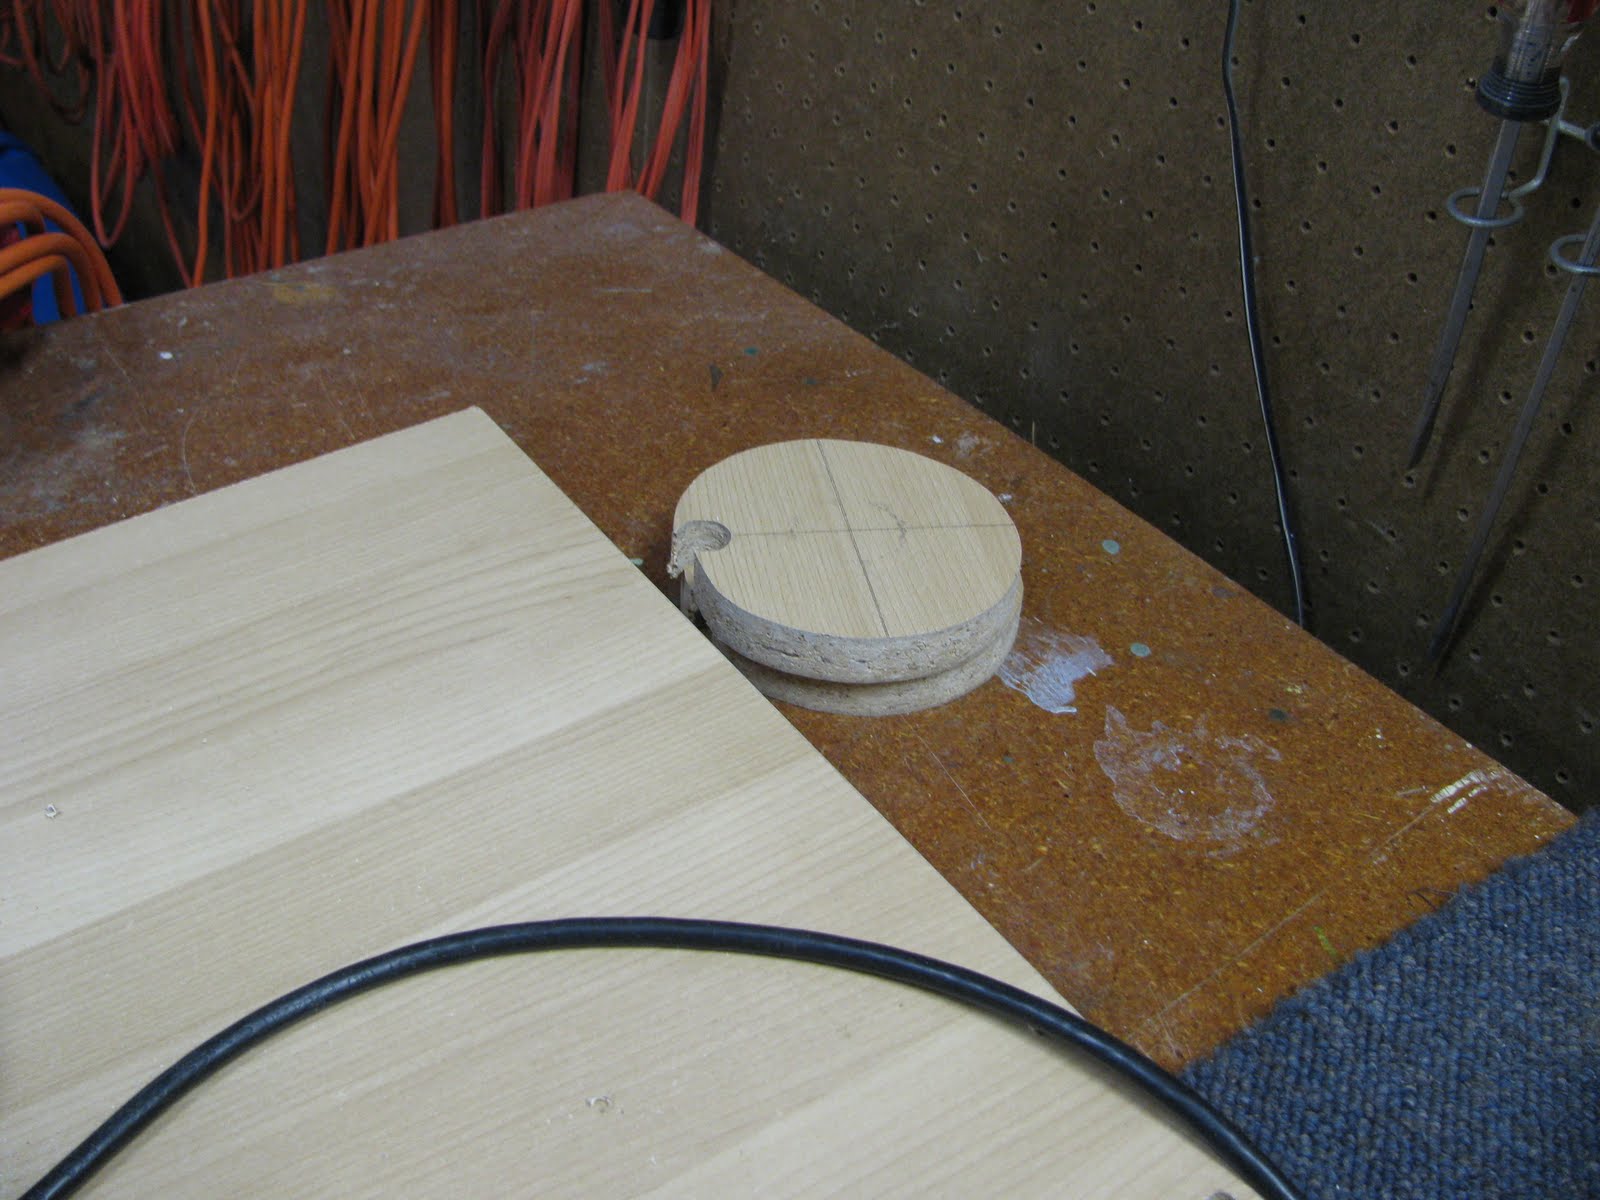
It might be a bit hard to make out the specifics, but I took my dad's large L-square and drew out the dimensions of each piece right onto the formica top in pencil. The two paper cut-outs are sized for the eventual holes the bowls will sit in. I'm not good at freehanding circles. With the dimensions laid out, it was cutting time.
At this point I've cut out each "leg" of the stand, and I'm currently using the band saw to cut around the circle lines I drew out with the paper markers. It's easier than you might think, you just drill through the wood with a large bit (I used a 1/2") and then start cutting from that point. The saw can make turns quite easily, and then it's just a matter of following the lines.
This is what one of the legs looks like. The other leg looks exactly the same. Fancy that, right?
Oh look, big hole cut-outs! I wonder where they came from...
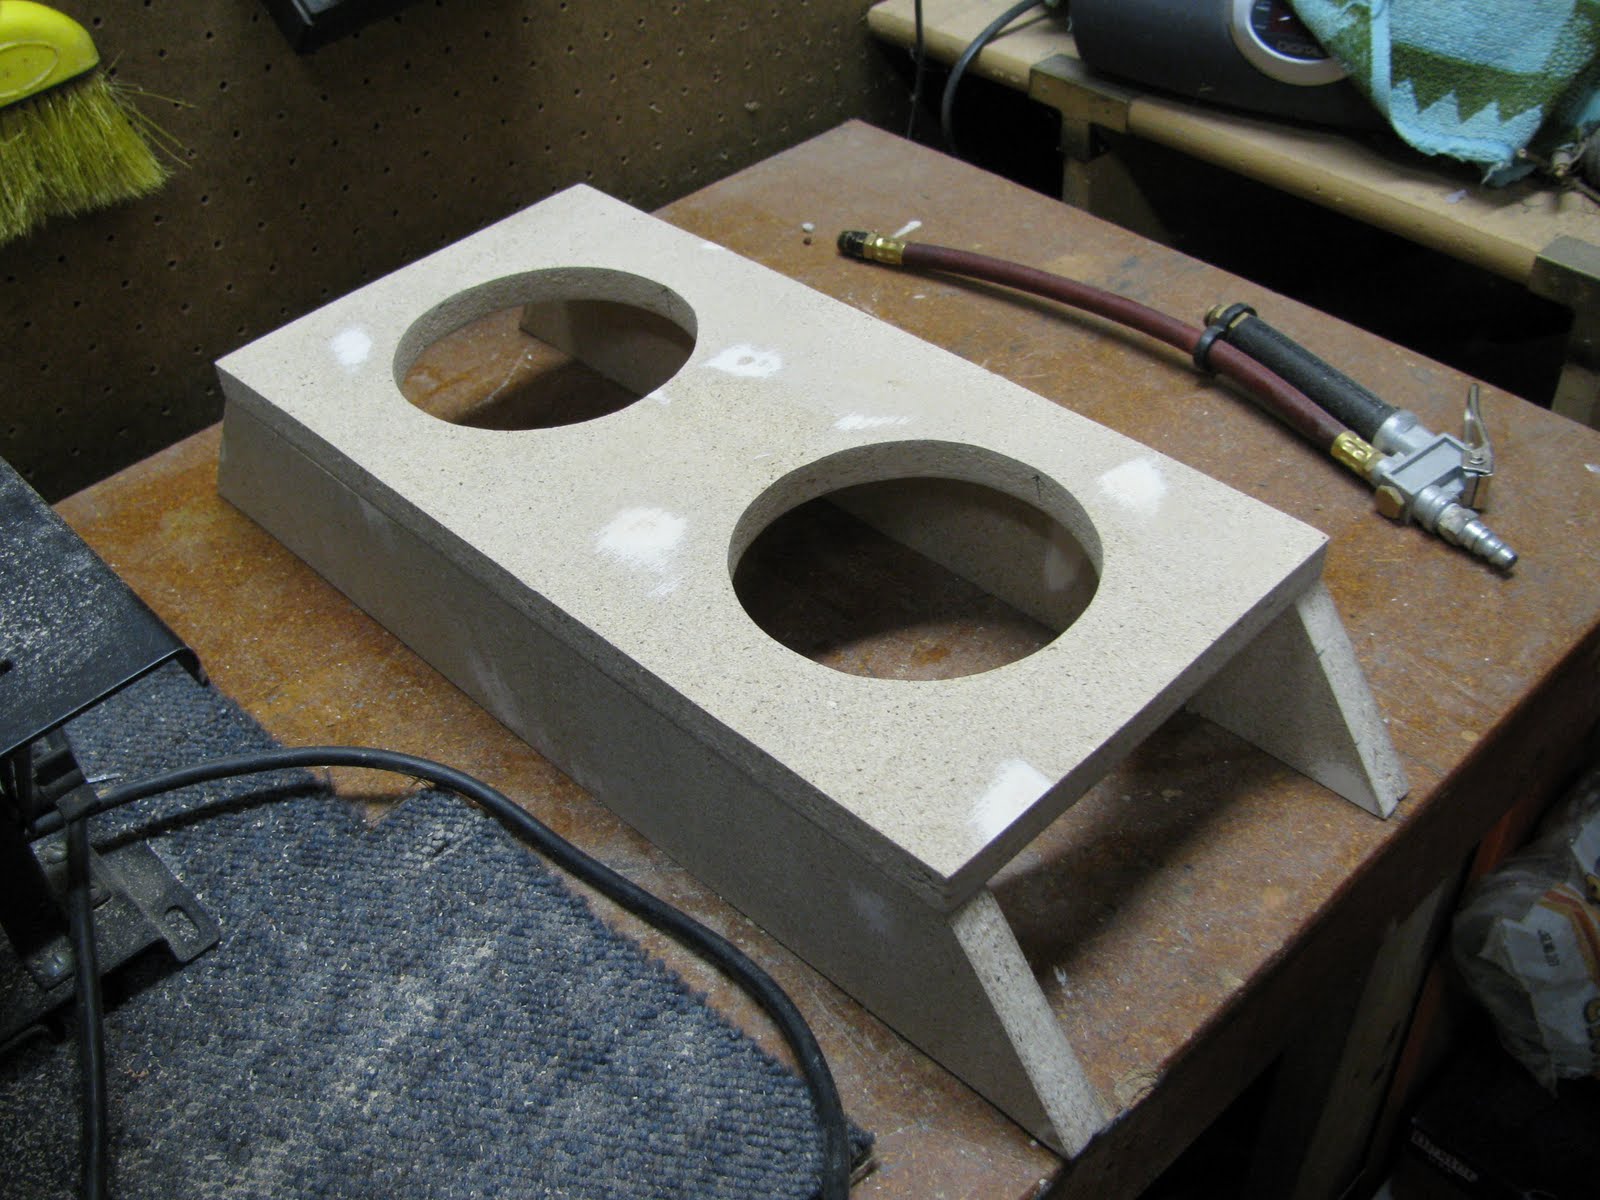
And now we see the bowl stand in all of its unfinished glory. The pieces have been cut out, but that's it. Very rough, and with the formica still covering most of the surfaces, gluing them together wouldn't work very well.
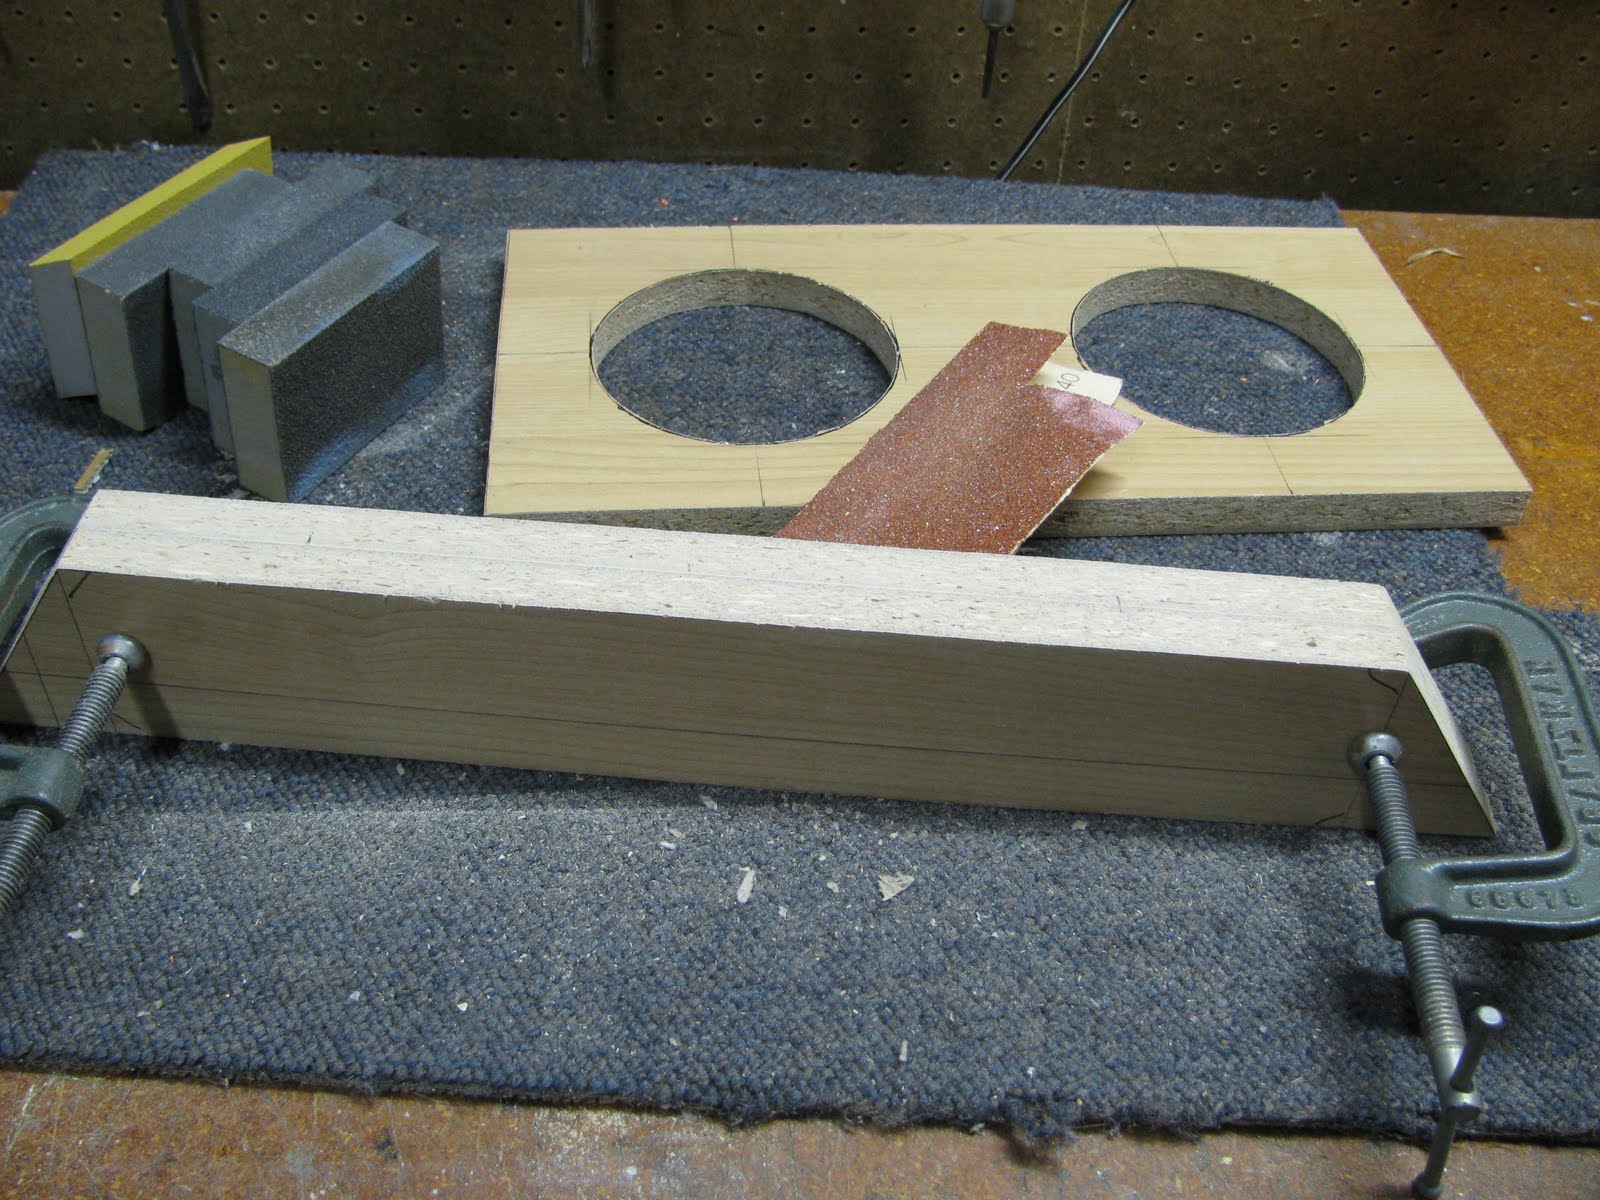
So, at this point what I did was clamp the two legs together in an attempt to make them as identical as possible. With them clamped together I went over all the edges to do just that. Lots of sanding time, essential for any project.
With the legs matching up a bit better, I took all of the pieces outside with the belt sander, and removed the formica. It didn't take all that long, but my methodology wasn't perfect, and so some places on the top had peaks and valleys from a lack of uniform sanding. You can't see it, but they're painfully obvious to the touch. Regardless, the stand is pretty much done at this point. All I had to do now was use some wood glue to attach the legs, and it was showtime!
It took Tess a little bit of time to get used to eating out of it, but she adapted quickly. Perhaps more importantly, since I completed this prototype and started using it back in November/December of 2010, from then until now (June 3rd, 2011) Tess has barfed exactly ONCE. So I'd say either she a) grew out of barfing as a natural part of growing older, or b) the bowl stand has done exactly what I wanted, and brought the vomit occurence rate as close to zero as I could have wanted.
So, there are a few problems with the design. First, because the ends are uncovered, Tess can sometimes knock a toy underneath the stand, and I've had a few annoying moments where, in an attempt to get at the toy, she will knock the water bowl out of the stand and onto my carpet. Second, it's not very pretty. I'm not really into aesthetics as a general philosophy, but with the peaks and valleys in the top piece, as well as the unfinished wood look, I'll probably want to revisit this project at some point. Third and finally, Tess is a very messy drinker. I know, I know, cats are supposed to be very clean creatures and all that. Mine isn't. She constantly gets water out of the bowl while she's drinking, and I know that over the long haul, that will eat away at the wood, causing warping and overall structural instability. So what does all this mean? Mostly just that this project is only finished "for now" and will have to be revisited in the future to fix some of these problems. But for now, this prototype works amazingly well and I couldn't be happier.